Hand Hygiene: Shocking Statistics & How To Take Care of Your Hands
We’ve done the math on how many times nurses perform hand hygiene, plus some shocking facts and a few tips on how to take care of your hands as a nurse.
Our relentless research goes beyond shoes. Capsol allows us to talk all things nursing, from career advice and current news to self-care and mental health. These conversations with you, the community, and the world at large help us put our best foot forward when creating the best nursing shoes on the planet.
In life, we all have our own set of skills. As a nurse, we are required to have a wide skill set. However, of course, we are going to be better at some of those things than others. Maybe your best skill is assessment, while another nurse might be the best at wound dressing. Regardless of your skills, we can all benefit from nursing tips and tricks.

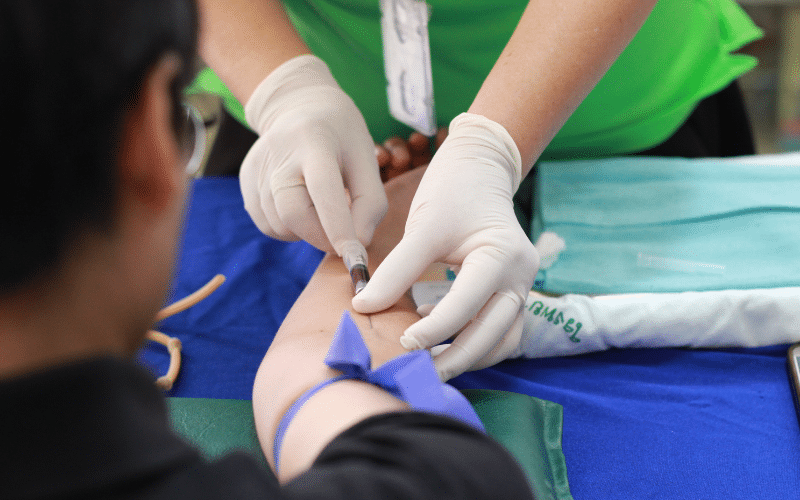
Establishing IVs is one of those nursing skills that seems very divided. Nurses are often really good at IVs or struggle with it. With so many body types and extenuating circumstances, it can be hard to nail the perfect IV every time. If you are a nurse that needs a couple of tips and tricks on establishing IVs, we’ve got your back. Let’s go over the ultimate guide to establishing IVs.
Before we start, keep in mind that if you are in nursing school, you might not be able to take advantage of some of these tips depending on how your instructor wants you to complete the task. However, these are perfect for real-world applications.
Patience: Above all, have patience. Remember that practice makes perfect and that you might not get a flash right away. Give it a couple of seconds before pulling back out to make sure that you didn’t get it before assuming.
There you have it– some tips and tricks to establishing IVs. Try these out and see if you become one of those IV wizards.
Do you have any IV tips? Share them in the comments!
Author
most recent
We’ve done the math on how many times nurses perform hand hygiene, plus some shocking facts and a few tips on how to take care of your hands as a nurse.
Celebrate Pediatric Nurses Week as we talk about what pediatric nurses do, ideas for showing appreciation, and a breakdown of how to become one. Don’t miss this!
Ever wonder, what is with nurses and coffee? I mean, why do nurses love coffee? So many of us depend on that rich, hot java to jumpstart a shift.
0 Comments